RV Soap Dispenser Install
Hi this is Brad… sharing with you an RV modification – installing a liquid soap dispenser at the kitchen sink. This RV Soap Dispenser install is an upgrade makes living the RV adventure just a little more convenient. Welcome to RVing Revealed – RV Tips and Mods!!
Space in an RV is at a premium and the kitchen area is naturally a space that garners frequent use. Soap dispensers have to be stowed and setup with every campground move, end up on the edge of the counter and are susceptible to being knocked over and even spilled. This RV Soap Dispenser install adds convenience and efficiency.
Here’s a solution that ensures your soap is always readily available, will not get bumped to the floor and will free up some critical counter space. One project and your done – no more stowing your soap and setting it back up for every trip.
Soap dispensers are readily available at most home improvement stores and the standard residential version works just fine for this RV application.
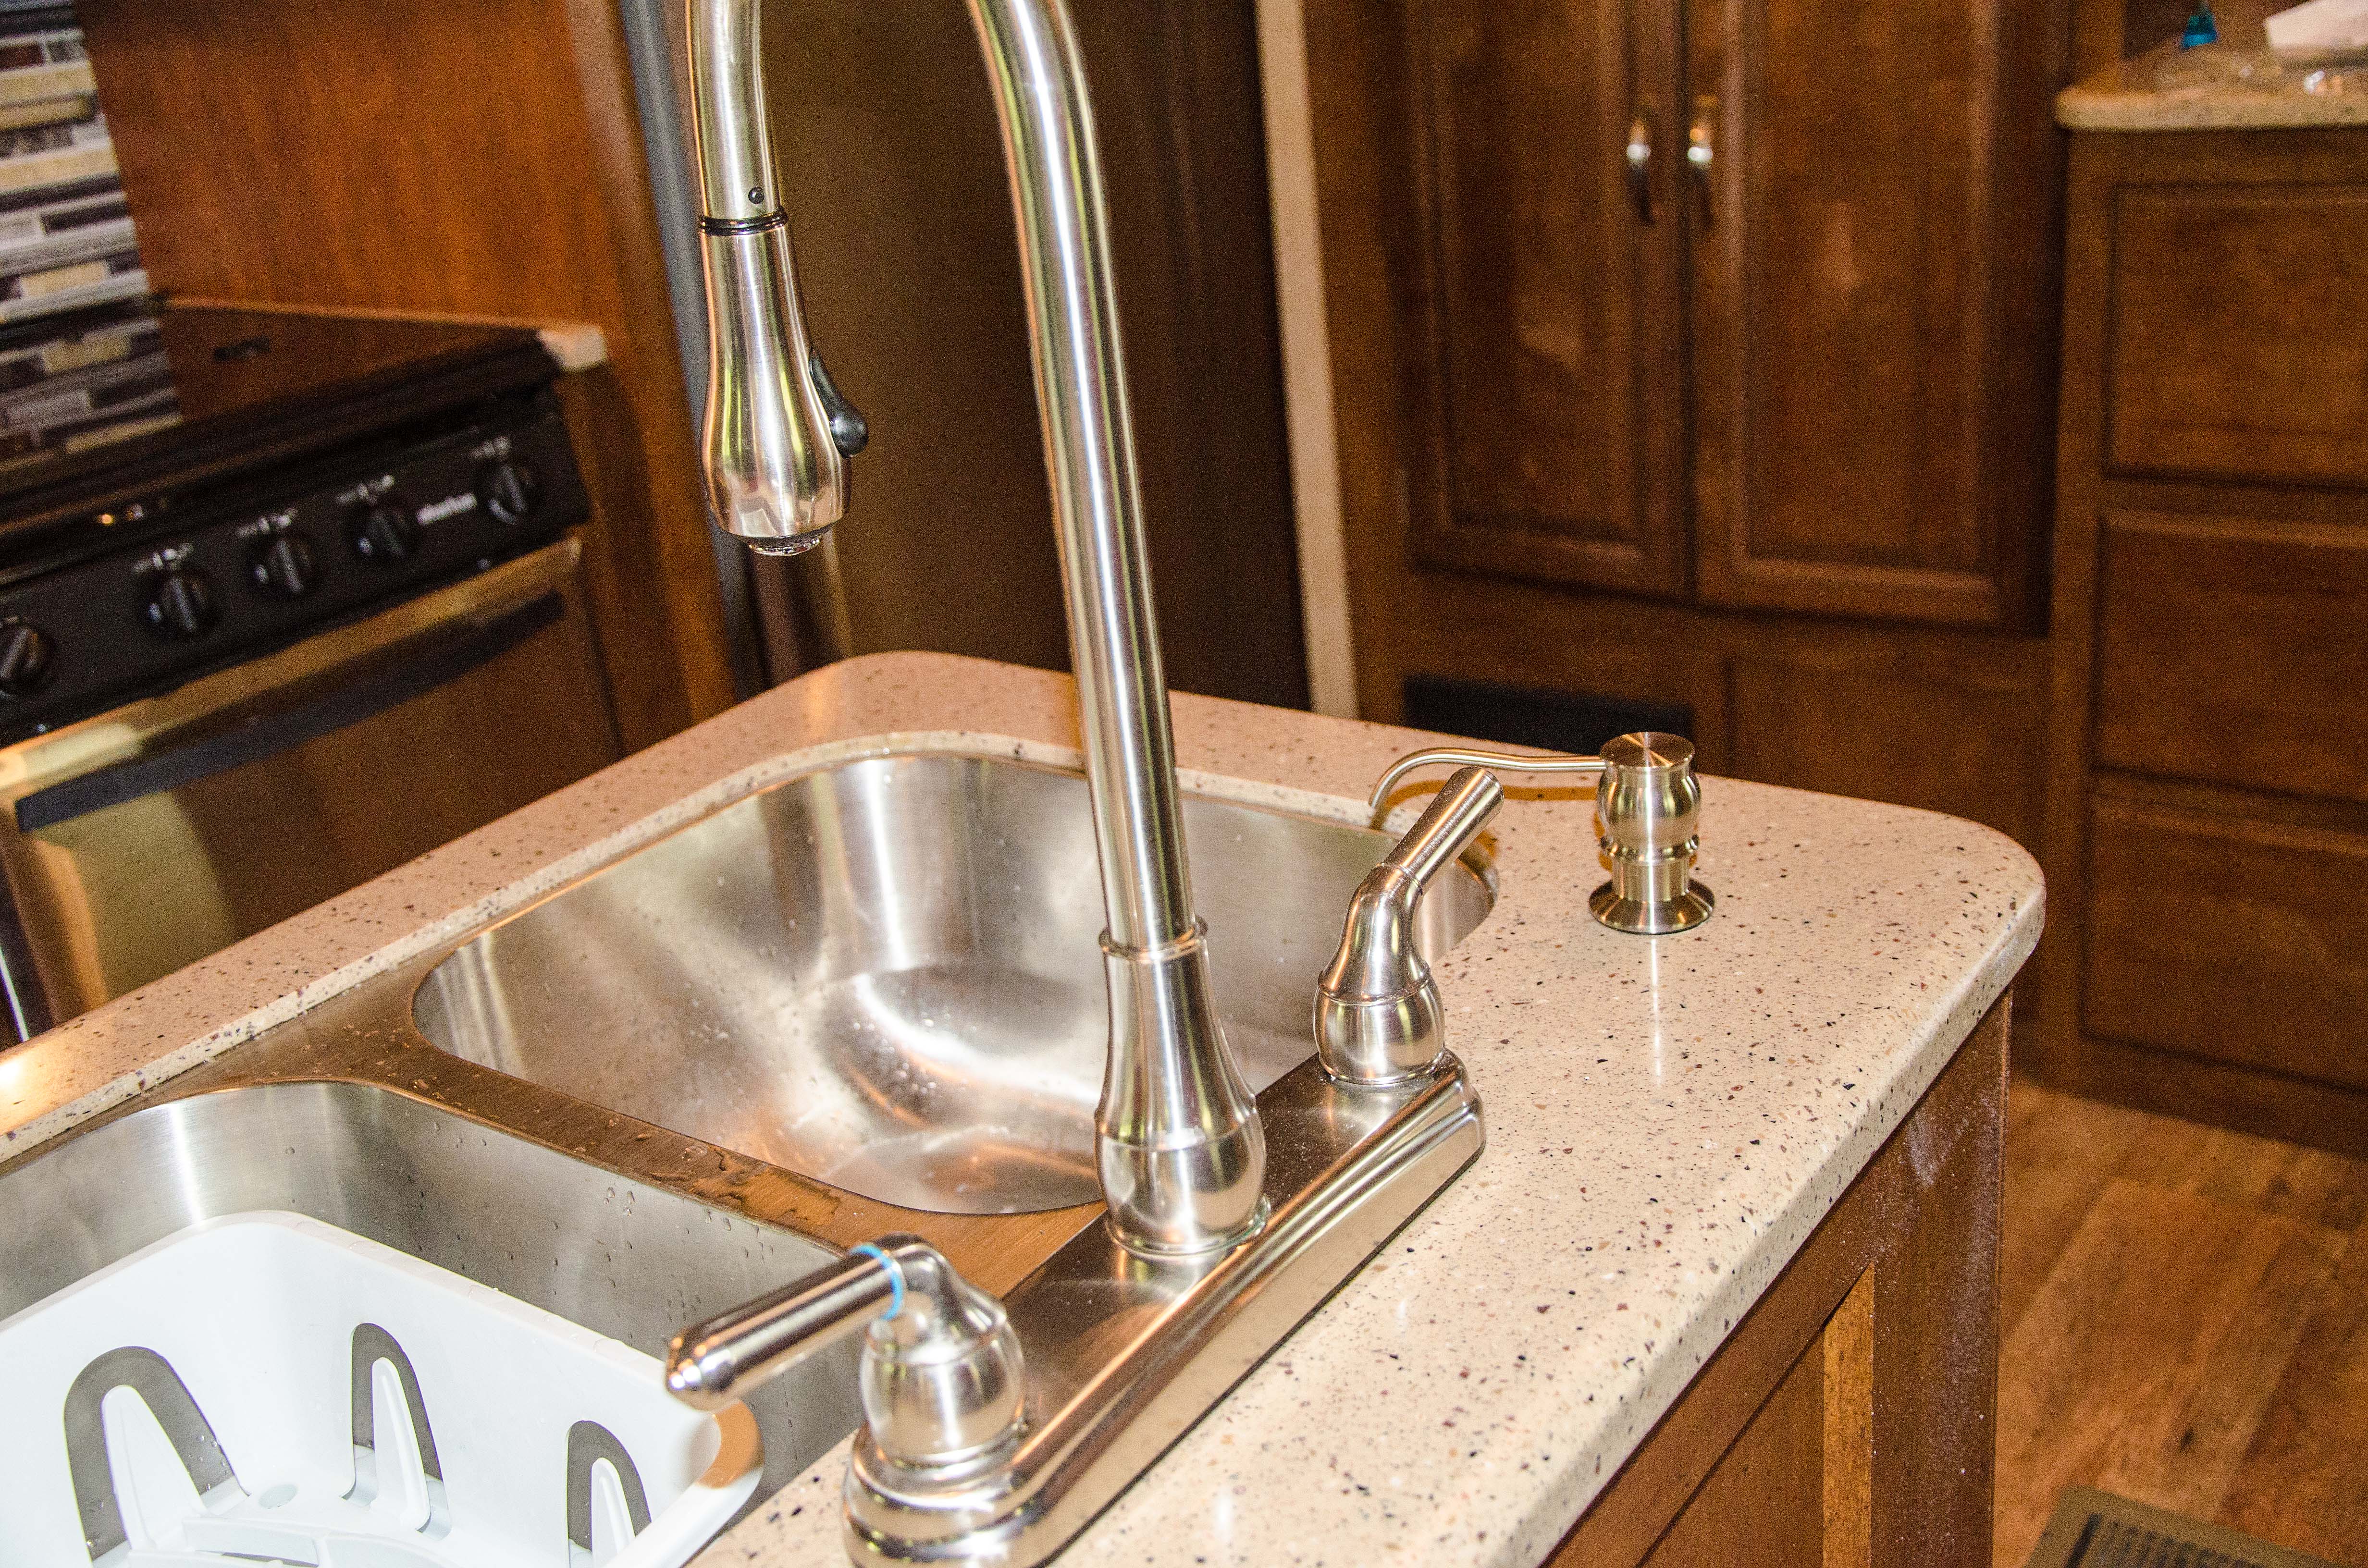
Start by determining the best location. Based on your use, just find a spot that best works for you and your sink. Be sure to measure your soap dispenser to ensure it will extend over the open sink. You can even take the dispenser and hold it in place to help find that perfect spot. A good indication is where your soap currently gravitates to…you probably have already identified the most convenience location.
Mark the spot – apply some painter’s tape to the top of the counter and then you can mark the location on the tape and check it without leaving any permanent marks on your counter. The soap dispenser is typically aligned with the faucet and placed the same distance from the edge of the sink.
The goal here is to place an X to mark the center of the hole that needs to be drilled. Don’t forget to look under the counter and confirm there is nothing in the way and you have plenty of room to drill a hole and for the new dispenser. Take your time, measure accurately and make sure you have the best spot while you are still working with the painter’s tape that can be easily taken off and moved.
If you are not confident on the best location for this RV soap dispenser install, you can always mark it and leave the tape on the counter. Then on your next trip simply place you existing soap in that spot to test and envision if it is convenient and works for you.
Time to drill a hole in the counter! One you are certain on the location apply more painters tape over the counter this will help the drill bite and make a clean entry in to the counter leaving no chips or nicks around the hole.
The majority of RV’s have a solid surface counter top. They are usually molds of acrylic resin enhanced with mineral fillers. Corian from Dupont is probably the most popular counter. These types of counters can easily be drilled.
A standard 1 3/8″ opening is needed. A hole saw with a guide drill bit in the center is used to make the hole through the counter. Just make sure the area around the drill bit is covered in tape. It’s going to get real and there will be a hole in your counter, so now is the time to make sure you are ready and this is the best location.
Placing the center guide bit exactly on the center of your mark is important, and then get that drill plum so you are drilling straight down in to the counter and not at an angle. Then just drill a hole – nothing to it!
RV Install
It may be a little intimidating to drill the opening – but go for it and make it permanent! You are now committing to your new RV soap dispenser install.
There it is a hole in the counter – not too difficult. Clean up the area and remove the painters tape – the hard part is done and there is no turning back now!
The new pump handle simply sits into the new hole in your counter. Every brand may differ slightly, but the basics remain the same – there will be a gasket or rubber seal and a plastic nut that gets screwed onto the pump handle from under the sink to hold everything in place.
From under the counter, you will see the pump handle of your new soap dispenser extending down. You will also see a red hot water and blue cold water line and all the plumping for the sink. Once you reach up there and screw the gasket or rubber seal and a plastic nut the dispenser is solidly in place. Now there will be a plastic container of some type that holds the supply of liquid soap that needs to be screwed on to the end of the dispenser.
The container is filled with liquid soap from the top. The first time you use it may require a few extra pumps to get the soap through the dispenser.
Obviously it is best to read and follow the instructions that come with the particular brand of soap dispenser that you purchased. There’s really no difference in the installation for a sticks and bricks house or an RV. During winterization don’t forget to empty the soap and
fill it again in the spring.
RV Tips and Mods
That’s it for your RV Soap Dispenser Install! Voila – you have a great RV modification and upgrade.